How to Stop E-Bike Brakes From Squeaking: A Complete Guide
Lynxcle-Tommy
How to Stop E-Bike Brakes From Squeaking: A Complete Guide
Dealing with ebike noise is one of the most common frustrations for riders. This guide will walk you through everything you need to know to diagnose and eliminate that frustrating brakes noise, turning that cringe-worthy sound into confident, silent stopping power.
🗒️ On This Page
There are few things more annoying on a ride than the loud, high-pitched squeal of a noisy brake. It’s a sound that draws unwanted attention and can make you question the safety and condition of your e-bike. The good news is that in most cases, this is a highly fixable problem.
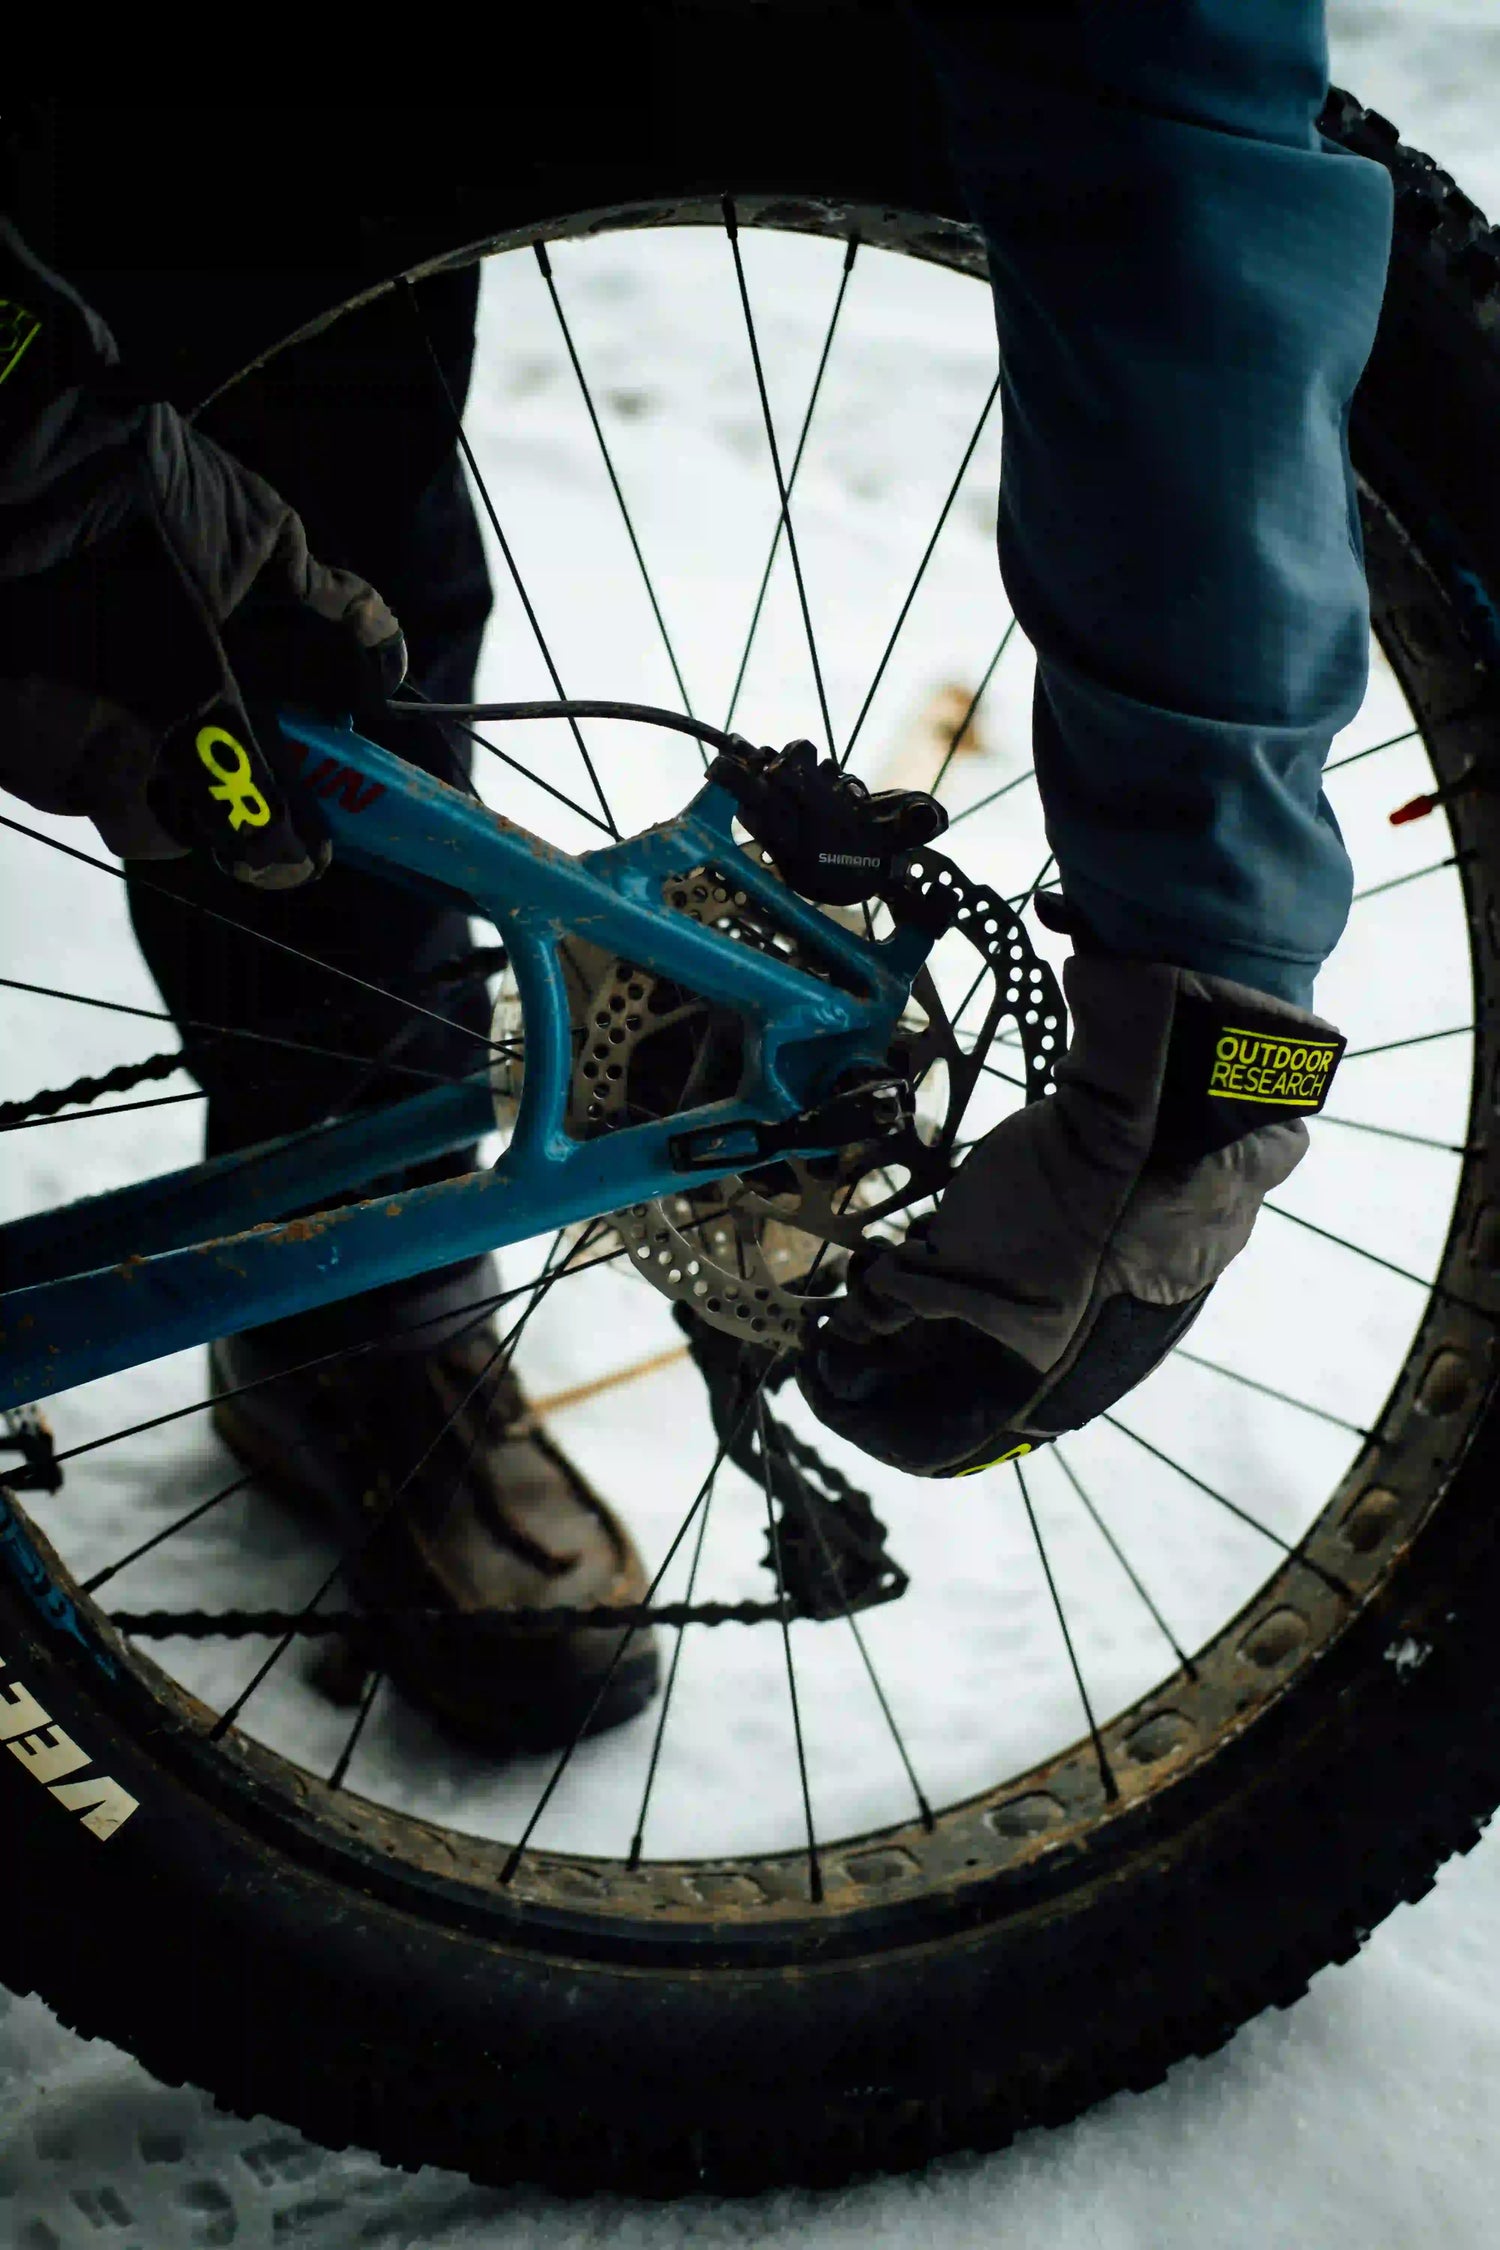
First, Identify Your Brakes: Hydraulic or Mechanical?
Before diving into the fixes, it’s helpful to know what type of brake system you're working with. A clear understanding of your hardware provides helpful context for troubleshooting.
Mechanical Disc Brakes: The Cable-Driven Classic
How They Work: This system operates much like a classic bicycle brake. When you squeeze the brake lever, it pulls a braided steel inner cable that runs through a protective outer housing. At the brake caliper, this cable pulls on a mechanical arm. This arm uses a simple cam or screw mechanism to force a piston, pushing one brake pad inward. The force then flexes the brake rotor slightly to make contact with the second, stationary pad, clamping the rotor to slow you down.
How to Identify Them: Look at the line going from your brake lever to the caliper. You will see a relatively thick, flexible housing with a braided steel cable visible at the ends. At the caliper itself, you will see an external arm that moves when you pull the brake lever. You will also typically find barrel adjusters (round knobs for fine-tuning) where the cable enters the lever or caliper, which are used to adjust cable tension.
How They Work: This is a sealed system that uses the principles of hydraulic pressure. When you squeeze the brake lever, you are pushing a piston inside a "master cylinder" located in the lever body. This pressurizes a special fluid (either Mineral Oil or DOT fluid) within a sealed hose. This pressure is transferred down the hose to the brake caliper, where it activates two (or four) "slave" pistons. These pistons move out simultaneously and evenly, pushing the brake pads against both sides of the rotor with immense and highly controllable force.
How to Identify Them: Look at the line running from the lever to the caliper. It will be a relatively thin, solid, sealed black hose with no exposed inner wires. The caliper will have no external moving arms or levers. The brake levers on the handlebar often have a bulkier appearance due to the integrated fluid reservoir.
The Root Causes: Why Are Your E-Bike Brakes Squealing?
Brake noise is simply a high-frequency vibration. Let's identify the specific component that has become an unwanted ebike noise maker. The squeal you hear is almost always caused by one of these four culprits:
- Contamination: The most common cause. A foreign substance like oil or grime on your brake rotor or pads.
- Improper Bedding-In: New pads and rotors haven't been properly prepared.
- Vibration & Alignment: The brake caliper is slightly misaligned or bolts are loose.
- Glazing: The pads have been overheated, creating a smooth, hardened surface.
Stop the Squeal! How to Fix Annoying Brake Noise
Understanding the cause is half the battle. Now, let’s roll up our sleeves and walk through the solutions for each of these issues.
The #1 Fix: Decontaminating Your Brakes
If your brakes started making noise after you lubricated your chain or washed your bike, contamination is almost certainly the culprit.
- Remove Wheel & Pads: Take the wheel off your bike and carefully remove the brake pads from the caliper.
- Clean the Rotor: Thoroughly scrub the brake rotor on both sides with isopropyl alcohol and a clean rag.
- Assess the Pads: If the pads look dark or shiny, they are contaminated. You can try sanding the surface with fine-grit sandpaper. If they are heavily soaked with oil, the only solution is to replace them.
The Critical Step: The Perfect Bed-In Procedure
This process is essential for creating a perfect, even friction layer between the pad and the rotor, which is crucial for quiet operation.
- Find a safe, traffic-free area.
- Accelerate to a moderate speed (around 10-12 mph / 15-20 km/h).
- Apply one brake firmly and consistently until you slow down almost to a stop, but do not lock up the wheel.
- Repeat this process 15-20 times for each brake.
Taming the Vibration: Alignment and Hardware Checks
If cleaning and bedding-in don't solve the problem, the vibration may be coming from a simple misalignment. This can even cause an electric bike noise when pedaling, as the rotor may constantly rub the pads. A slightly warped rotor or loose hardware can also produce an ebike clicking noise on every wheel revolution.
To fix alignment, loosen the two main bolts holding the brake caliper to the frame, squeeze the corresponding brake lever firmly (this centers the caliper), and then carefully re-tighten the bolts while still holding the lever. Also, ensure your rotor bolts and wheel axle are securely tightened.
When Glazed Pads Are the Problem
If you've been doing long, steep descents, you may have overheated your pads, causing them to "glaze." You can often fix this by removing them and lightly sanding the surface to break up the glaze.
How Brake Pads Affect Noise: A Deep Dive
 If you've cleaned and aligned your brakes but a noise remains, the problem may be the pads themselves. The material your pads are made from is a major factor in how much noise they produce, and also affects feel, performance, and price. The table below breaks down the key differences.
| Pad Type | Feel / Modulation | Braking Performance | Lifespan | Noise Level | Price | Best For... |
|---|---|---|---|---|---|---|
| Resin (Organic) | Soft and linear | Good in dry conditions, drops off quickly in the rain. | Shorter | Very Quiet | Low-Medium | City commuting, casual riding, light trails. |
| Metallic (Sintered) | Firmer, more "on/off" | Stable at high temps, excellent in wet and muddy conditions. | Very Long | Can be louder | Medium | Mountain descents, heavy e-bikes, extreme weather. |
| Semi-Metallic | Balanced | Good, balanced performance in most conditions. | Medium | Generally quiet | Medium | All-mountain trail riding, all-purpose use. |
| Ceramic | Consistent and smooth | Minimal fade at very high temperatures. | Long | Exceptionally Quiet | High | Performance road riding, high-end builds. |
| Finned Pads | Same as base material | Significantly less fade on long descents. | Same as base material | Same as base material | High | Mountain descents, hot summer environments. |
✨ The Lynxcle Member Advantage ✨
At Lynxcle, we believe that a great ownership experience doesn't end when you buy an e-bike—it's just the beginning. We know that proper maintenance is key to a safe and enjoyable ride, and we want to empower our riders every step of the way.
That’s why, when you purchase a Lynxcle e-bike and become a Lynxcle member, you get more than just an amazing machine. You get a partner in your cycling journey. Our members receive exclusive, regular e-bike maintenance and care guides sent directly to their inbox, covering everything from cleaning to tuning.
And to make it even better, we randomly surprise our members with free gifts to help them with their DIY maintenance, such as a new set of brake pads, professional cleaning tools, or even a hydraulic brake bleed kit.
Because at Lynxcle, we don’t just build bikes. We build a community of confident, well-equipped riders.
E-Bike Brake Maintenance Checklist for a Quieter Ride
 A simple maintenance routine is the best way to prevent noise before it ever starts.
Before Every Ride (1-Minute Check)
Visually inspect your rotors. Are they clean and free of any oily residue?
Every Month (15-Minute Inspection)
Deep Clean Your Rotors: Give your rotors a proper cleaning with isopropyl alcohol to remove any built-up road grime.
Check Your Brake Pad Depth: Worn-out pads are a major safety issue. If you hear an ebike grinding noise, this is a critical warning. It means the pad material is gone, and the metal backing plate is destroying your rotor. Stop riding immediately. A good rule of thumb is to replace pads if the friction material is less than 1mm thick (about the thickness of a credit card).
When to See a Pro
If you've tried all these steps and the noise persists, or if you are not comfortable performing these adjustments yourself, it's always best to consult a professional mechanic.
A quiet brake is a confident brake. By following these steps, you can solve the vast majority of brake noise issues and get back to enjoying the pure sound of your ride.
Frequently Asked Questions
Why do my brakes only make noise when it's wet?
This is very common, especially with Metallic brake pads. Water on the rotor acts as a lubricant and can cause a loud, temporary squeal as it quickly evaporates under braking force. While often normal, the noise should go away once the brakes are dry. If it persists, it could indicate underlying contamination.
I cleaned my brakes, but they are still noisy. What's next?
The very next step is the "bed-in" procedure outlined above. This is crucial for establishing a proper friction layer. If that still doesn't work, double-check your caliper alignment. It's also possible the contamination has soaked too deeply into the pads, in which case they will need to be replaced.
Is it safe to ride with squeaky brakes?
Not always. While a light squeak might just be annoying, it can also signal a more serious issue. Contaminated pads have reduced stopping power, and a loud grinding noise is a critical warning that your pads are worn out. It's always safest to diagnose and fix the cause of the noise.
How often should I replace my e-bike brake pads?
There is no set mileage, as pad life depends heavily on your weight, riding style, terrain, and pad compound. Instead of guessing, perform a visual inspection once a month. A good rule of thumb is to replace them when the friction material is less than 1mm thick (about the thickness of a credit card).