How to Fix Annoying E-bike Drivetrain Noises: Your Guide to Clicks, Creaks, and Ticks
Lynxcle-Tommy
How to Fix Annoying E-bike Drivetrain Noises: Your Guide to Clicks, Creaks, and Ticks
There’s nothing quite like the smooth, quiet hum of an e-bike motor as you glide along your favorite route. But then, it starts. A mysterious click, a rhythmic tick, or a stubborn creak that seems to sync perfectly with every pedal stroke. The worst part? It only happens when you're actually riding, especially when you're pushing hard up a hill. The moment you put the bike on a stand to investigate, the noise vanishes.
If this sounds familiar, you're not alone. This guide will walk you through the common causes of these phantom noises and provide a step-by-step plan to help you find and fix them, restoring peace to your ride.
🧭 Jump straight to the solution:
Why Does My E-bike Only Make Noise When I Pedal Hard? Understanding "Noise Under Load"
This is the core of the mystery for most riders. The simple answer is stress and flex. When you're on your bike, your body weight and the force of your pedaling put the frame, wheels, and drivetrain components under significant stress. This causes microscopic flexing and movement between parts. It's in these tiny movements—under load—that parts can rub, shift, or grind against each other, creating noise. On a repair stand, there is no rider weight and minimal force, so the components spin freely and silently. Think of it like a floorboard in your house that only creaks when you step on it just right.
The Usual Suspects: Identifying the Source of the Noise
Let's hunt down the culprits, starting with the easiest and most common offenders. We'll work our way from the outside in.
Is It Even Your Drivetrain? Check Your Seatpost and Saddle First
Before you start tearing your drivetrain apart, check the parts that support your body weight. A loose or dirty seatpost and saddle rails are famous for producing a loud creaking sound that many riders mistake for a bottom bracket issue.
- The Fix: Loosen your seatpost clamp, remove the seatpost, and wipe both the post and the inside of the frame's seat tube clean. Apply a fresh layer of grease (or carbon gripper paste for carbon frames) before reinstalling and tightening to the manufacturer's recommended torque. Do the same for the bolts clamping your saddle rails.
The Rhythmic Click/Tick: Investigating Your Pedals
If the noise is a consistent click or tick that perfectly matches your pedaling cadence, your pedals are a prime suspect.
- The Fix: Check if the pedals have any play by wiggling them. More often than not, the solution is to simply remove the pedals, clean the threads on both the pedal and the crank arm, apply a fresh coat of grease, and reinstall them tightly. Remember, the left pedal is reverse-threaded.
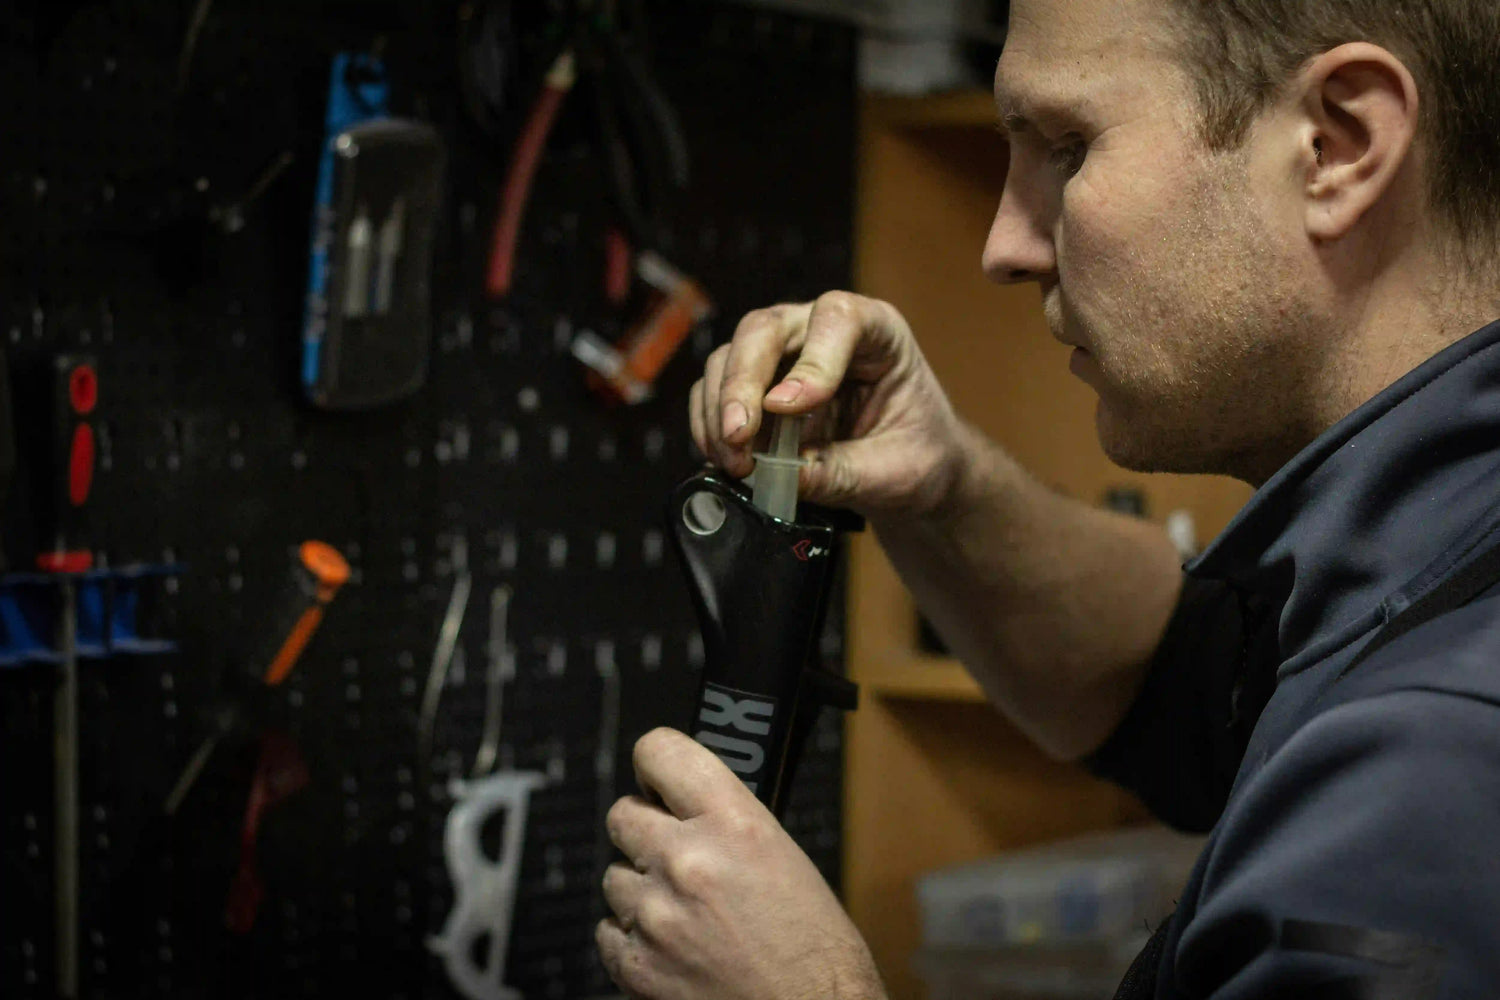
The Loud Creak: Focusing on the Crankset and Bottom Bracket (BB)
This is the home of the most notorious and powerful creaks. The forces from your legs are concentrated here.
- Crank Arms & Chainring Bolts: Ensure your crank arm bolts are tightened to the correct torque specification. A loose crank arm will creak loudly under pressure. Also, check your chainring bolts; they can work themselves loose over time and cause a clicking or creaking sound.
- Bottom Bracket (BB): The BB is the bearing system your cranks spin on. If it's worn, improperly installed, or contaminated with dirt, it will creak. Diagnosing and replacing a BB often requires specialized tools, so if you suspect it's the culprit, this might be a job for your local bike shop.
The Constant Ticking: Inspecting Your Chain and Cassette
A rhythmic ticking noise, especially when you're in certain gears while climbing, often points to the chain or cassette.
- The Fix: Look for a stiff or "frozen" chain link, which fails to straighten out as it leaves the cassette or chainring. You can usually fix this by gently flexing the link side-to-side. Also, ensure your derailleur is properly adjusted (indexed). A poorly aligned derailleur will cause the chain to tick against the next cog. Lastly, a worn chain or cassette will also make noise and should be checked for wear.
Don't Forget the Wheels: Checking for Loose Spokes
A loose spoke can cause a pinging or ticking sound once per wheel revolution, especially when climbing or accelerating. Find a quiet place and squeeze pairs of spokes together. If you find one that feels significantly looser than the others, it may need to be tensioned.
Your Step-by-Step Action Plan to a Silent Ride
Feeling overwhelmed? Just follow this logical process.
Step 1: The Deep Clean & Lube
Never underestimate the power of a clean bike. Dirt, grit, and old lubricant create a grinding paste that causes noise. Thoroughly degrease and clean your chain, cassette, and chainrings. Once dry, apply a quality chain lubricant appropriate for your riding conditions. A clean bike is a quiet bike.
 Step 2: The Torque Wrench Is Your Best Friend
Many noises are just a sign that something is a little loose. Following the "tighten everything" advice is smart, but doing it correctly is even smarter. It's crucial to understand that different components require specific levels of tightness, measured in Newton-meters (Nm). Over-tightening can damage sensitive parts (especially carbon fiber), while under-tightening can cause creaks and create safety hazards. A torque wrench is the essential tool for getting it just right.
Here is the table of recommended torque specifications for key components on Lynxcle e-bikes.
Important Note: Always double-check with your specific model's user manual or the component manufacturer's official documentation as values can vary. This table serves as a strong reference guide.
| Component Part | Recommended Torque (Nm) |
|---|---|
| Seatpost Clamp Bolt | 5–7 Nm (Use 5 Nm for carbon frames, up to 7 Nm for alloy) |
| Saddle Rail Bolts | 12–15 Nm |
| Crank Arm Bolts |
Varies by type: - Square Taper/ISIS/Octalink: 35–50 Nm - Hollowtech II type (pinch bolts): 12–14 Nm |
| Chainring Bolts | 8–12 Nm |
| Pedals | 35–40 Nm |
| Stem Bolts |
Varies by location: - Clamping the handlebar: 5–8 Nm - Clamping the steerer tube: 5–6 Nm |
| Rear Wheel Axle |
Varies by type: - Quick Release (QR): Hand-tight with firm pressure - 12mm Thru-Axle: 12–15 Nm |
 Regularly checking these key connection points with a torque wrench can instantly silence many of the most common creaks and clicks.
Step 3: Isolate the Noise - The On-Bike Test
Try to pinpoint the noise while riding.
- Does the noise disappear when you stand up to pedal? If yes, the source is almost certainly your seatpost or saddle.
- Does the noise happen when you coast without pedaling? If yes, it's not your drivetrain; look at your wheels, hubs, or brakes.
- Try pedaling with only your right foot, then only your left. If the noise is more pronounced with one foot, it points to the pedal, crank arm, or bottom bracket on that side.
 When to Call a Professional: Know Your Limits
There is no shame in seeking expert help. If you've gone through the steps above and the noise persists, or if you diagnose an issue that requires specialized tools (like a bottom bracket press or cassette tool), a trip to your local bike shop (LBS) is your best bet. They have the tools and experience to diagnose and fix the issue quickly and safely.
Enjoy the Sound of a Smooth Drivetrain
Chasing down a mysterious bike noise can be a process of elimination, but it's incredibly satisfying to solve the puzzle. By working methodically from the simplest fixes to the more complex, you can silence those annoying clicks and creaks. Remember the core steps: clean and lubricate your components, check that everything is tightened to spec, and then try to isolate the source.
And if, after all this, you still hear a mysterious creak on your rides... well, it might be time to consider the source isn't mechanical. It could just be your knees.
Frequently Asked Questions
I cleaned and lubed my chain, but it's still noisy. What's the most common next step?
After a good cleaning, the most common cause of persistent drivetrain noise is a misaligned derailleur. The ticking sound you hear is often the chain rubbing against the next larger or smaller cog. Learning how to "index" your gears is the next logical step and solves many noise issues.
Why does the noise only happen in certain gears?
This strongly points to a derailleur adjustment issue. It could be that your limit screws are not set correctly (preventing the chain from sitting perfectly on the smallest or largest cog) or the general indexing is off. It can also indicate a bent derailleur hanger, which is a common problem after a bike has fallen over.
Is a clicking or creaking drivetrain noise dangerous?
While often just an annoyance, it can absolutely signal a safety hazard. A creak could mean a loose crank arm, pedal, or stem bolt, which could fail under pressure. It's always best to identify and fix the source of the noise rather than ignoring it.
What's the difference between a "click," a "creak," and a "grind"?
Generally, a "click" or "tick" is a sharp, high-pitched, rhythmic sound often related to a single point in a rotation (like a stiff chain link, a loose spoke, or a pedal bearing). A "creak" is a deeper, groaning sound caused by parts rubbing together under high pressure (like a bottom bracket, seatpost, or crank arms). A "grind" is a rough, scraping sound, often caused by dirt in the bearings or a severely worn-out component.